Upgrading to Larger SSDs
Introduction
Last year, I had the chance to grab a 16gb RAM stick and a 1TB SSD ROM and asked my friend B, a much more tech-savvy person than myself, to help me out with upgrading my laptop. Despite me asking, I kept procrastinating the upgrade, as something in my head kept reminding me that this was a scary hardware mission I’d never once embarked on. Yesterday, the time finally came: I sat down with B in a comfy computer lab with organic chemistry scribbled all across the whiteboard we opened up my laptop, beginning its surgery with the hope that everything would go smoothly.
In less than 30 minutes, we had a completely new laptop!
…or so I’d wish we did…
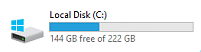
The night before, B tossed me an SSD Enclosure Adapter and recommended that I watch a YouTube tutorial on cloning my hard drive so that once we sat down, it’d be a simple swap of SSDs. I thought I did that, but once we swapped the pieces, something was weird: the Drive information under “This PC” did not show any change indicating that the storage was increased to 1TB.
Digging up the Problem
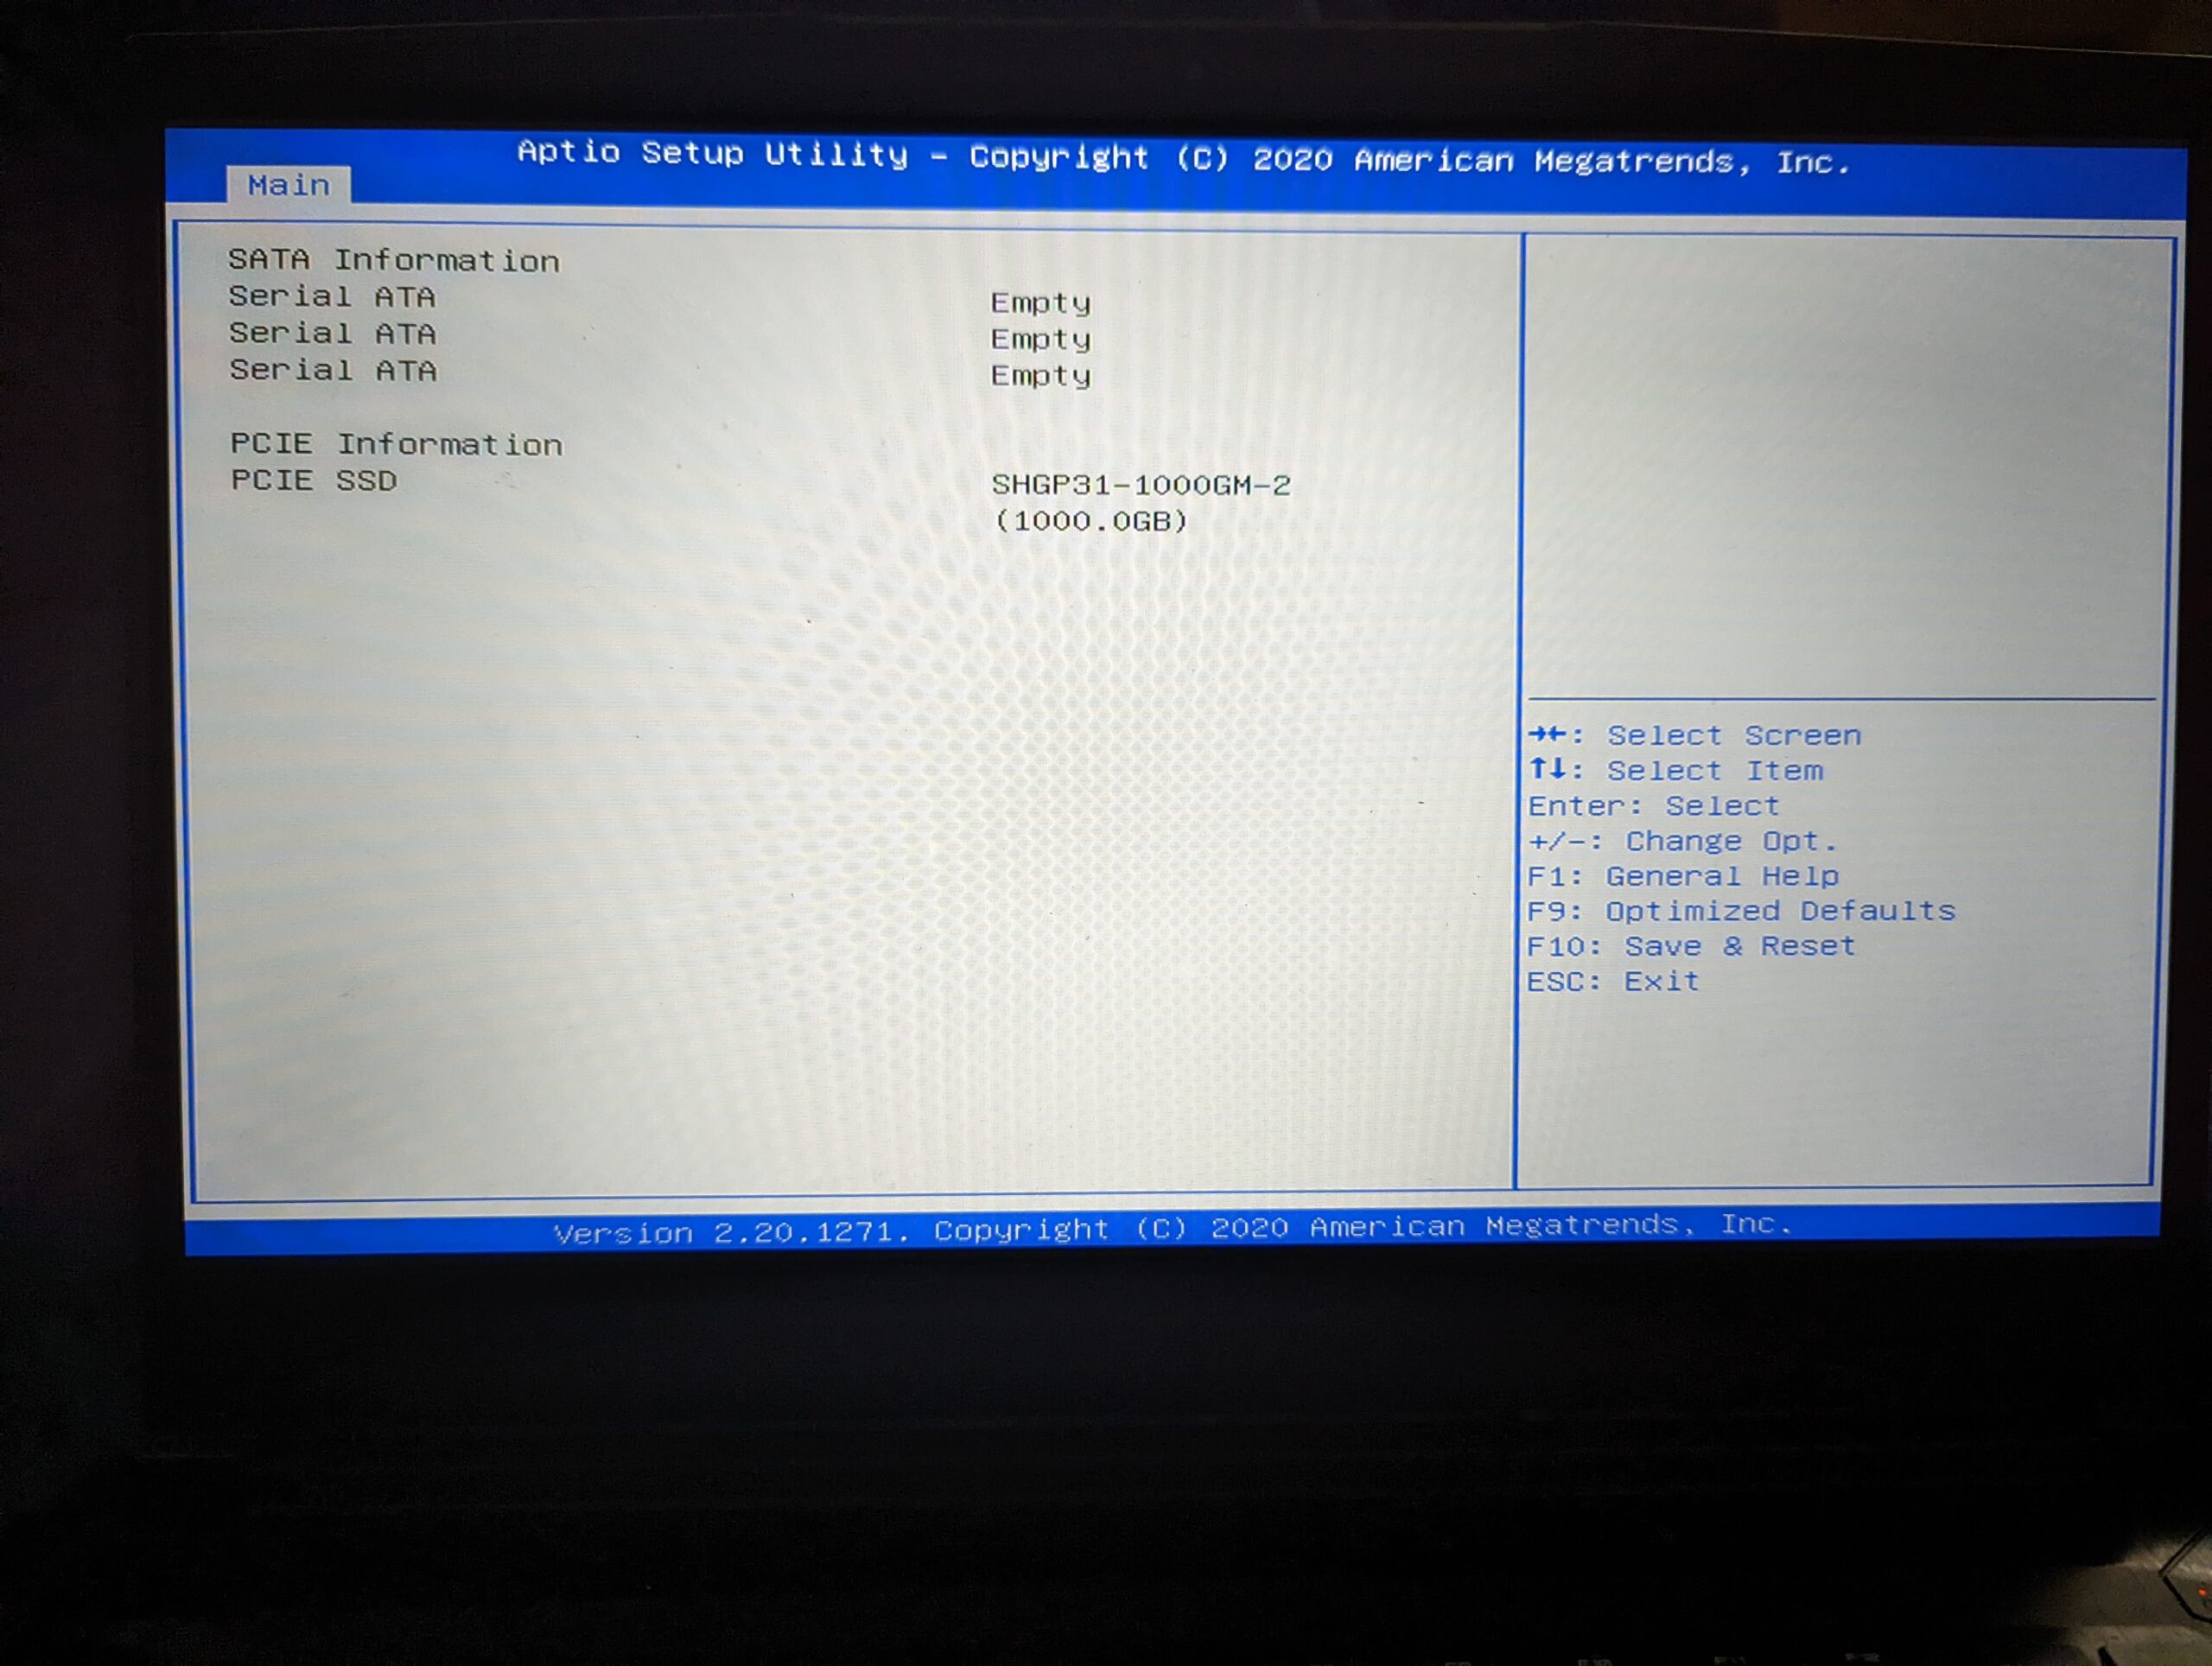
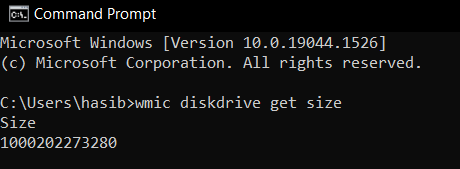
Before cleaning the drives clean and restarting from the beginning, we needed to figure out the core of the problem. We shut down the laptop and went into the BIOS, or Basic Input Output System, where system information can be found. The new SSD ID did appear so the system was detecting it! We booted up the laptop again and just to be sure, I typed in ‘wmic diskdrive get size’ into the command prompt which shows the size of a drive in bytes, and that too fell in line with the upgrade. We then went to google where an answer from diskpart.com told us that when a drive is cloned, the original structure of the disk is also copied and if cloning a smaller hard drive to a larger hard drive, any unconfigured exceeding space is considered unallocated space, and by extension, doesn’t show up.
Troubleshooting
It was definitely clear that the new SSD was placed correctly. Now, we just had to figure out how to make the laptop show the changes. Our first option was to check out a program called EaseUS Partition Master which apparently would resize and partition the drive so that the unallocated space could be used. We followed a YouTube guide that advertised it as being free, but when we downloaded the software and attempted to partition, a paywall prevented us from moving forward. Most other partitioning articles recommended the EaseUS software and so although it may have been reliable, we found ourselves relying on our last resort: a secure erase. A secure erase completely wipes off all data that is found in a drive such that the information cannot be recovered, compared to a normal erase whose information can be recovered using data recovery software. We needed a clean slate so it was perfect for us.
Cleaning
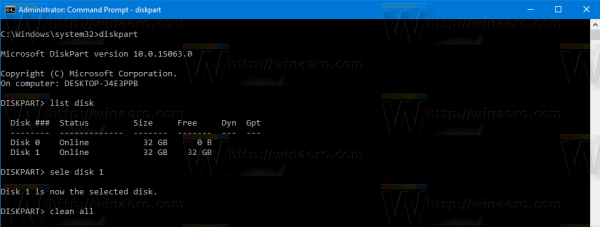
We took out the new SSD from the laptop and put it back in the SSD enclosure and inserted the old one back in. We then restarted the laptop, went into the command prompt, and typed in these series of commands
- diskpart
- list disk
- sele disk 1 <– We chose disk 1 as that was the new SSD connected by the enclosure.
- clean all
This would delete the incorrectly configured partitions on the SSD drive. This process took about 40 minutes to complete.
Back to Step 0
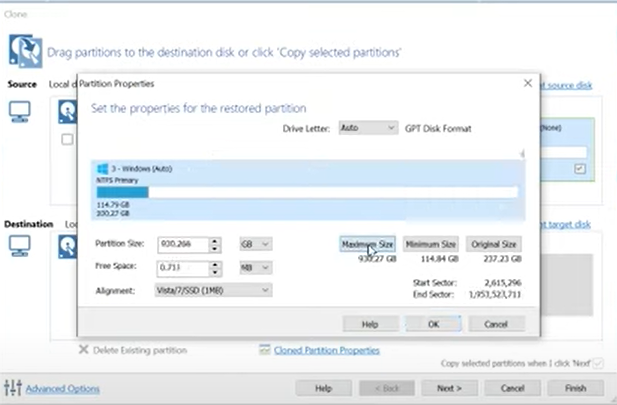
The software I used to clone to drive is called Macrium Reflect, a reputable cloning software. In my first attempt, I went through the cloning process through a series of clicking “Next”, not realizing that I had to partition the space manually so that everything would be allocated properly. This time around, we dragged each of the partitions into the larger SSD and for our “Windows C” partition, we went into the “Cloned Partition Properties” modal and selected the “Maximum size” option. Essentially, this ensures that this partition includes and makes usable all of the otherwise unallocated space.
We let the clone software do its thing for the next half hour and tried swapping the SSDs. This time around, everything looked good!
Reflection
Although it took several hours to get everything up and running properly, it was a great experience to get more familiar with the hardware and its connection with the software. From checking the BIOS settings to discovering the ‘clean all’ command to partitioning disks with Macrium, I learned of reputable sources of disk management in general. It was especially helpful to find YouTubers like Grant Butler who made recordings of them facing the same problems and then relaying the proper ways of how to resolve them. In the beginning, I was most afraid about taking apart my laptop in worry that I’d damage parts, but through the extra time we spent waiting for the cleaning and cloning processes, I was able to find some compressed air & isopropyl and clean out clusters of dust and chocolate milk (a story for another time). Nothing but lessons came out of this process, knowing that if I need to clone anything in the future, it’ll be a much smoother ride.
0 Comments